Pages

Showing posts with label DIY and Crafts. Show all posts

Monday, March 31, 2014

Spring Crafts with Kids

We are so excited to welcome in Spring around here!  This past weekend we spent some time painting pictures for Spring and Easter.  I found an Easter art project on Pinterest that I thought would be fun to try out.  All you need is potatoes, paint, and paper:)  You can check out the project here.  Basically it's creating potato stampers that look like Easter eggs.  It's pretty simple and the kids enjoyed it (the potatoes were a little hard to hold on to, so be careful if you try this!).  The kids also made hand prints and other 'abstract' paint creations:)  We had lots of fun being creative...the perfect way to spend a Saturday!


^ I love their hand print projects-it's nice to document how little they are now because they are growing so fast!
Happy Easter from Bella and Elijah!
The kids and I bought some flowers to help usher in Spring...so cheerful!
 
Goodbye March, Hello April!  What are you most looking forward to this Spring?

Monday, February 17, 2014

Valentine's Party and Crafts

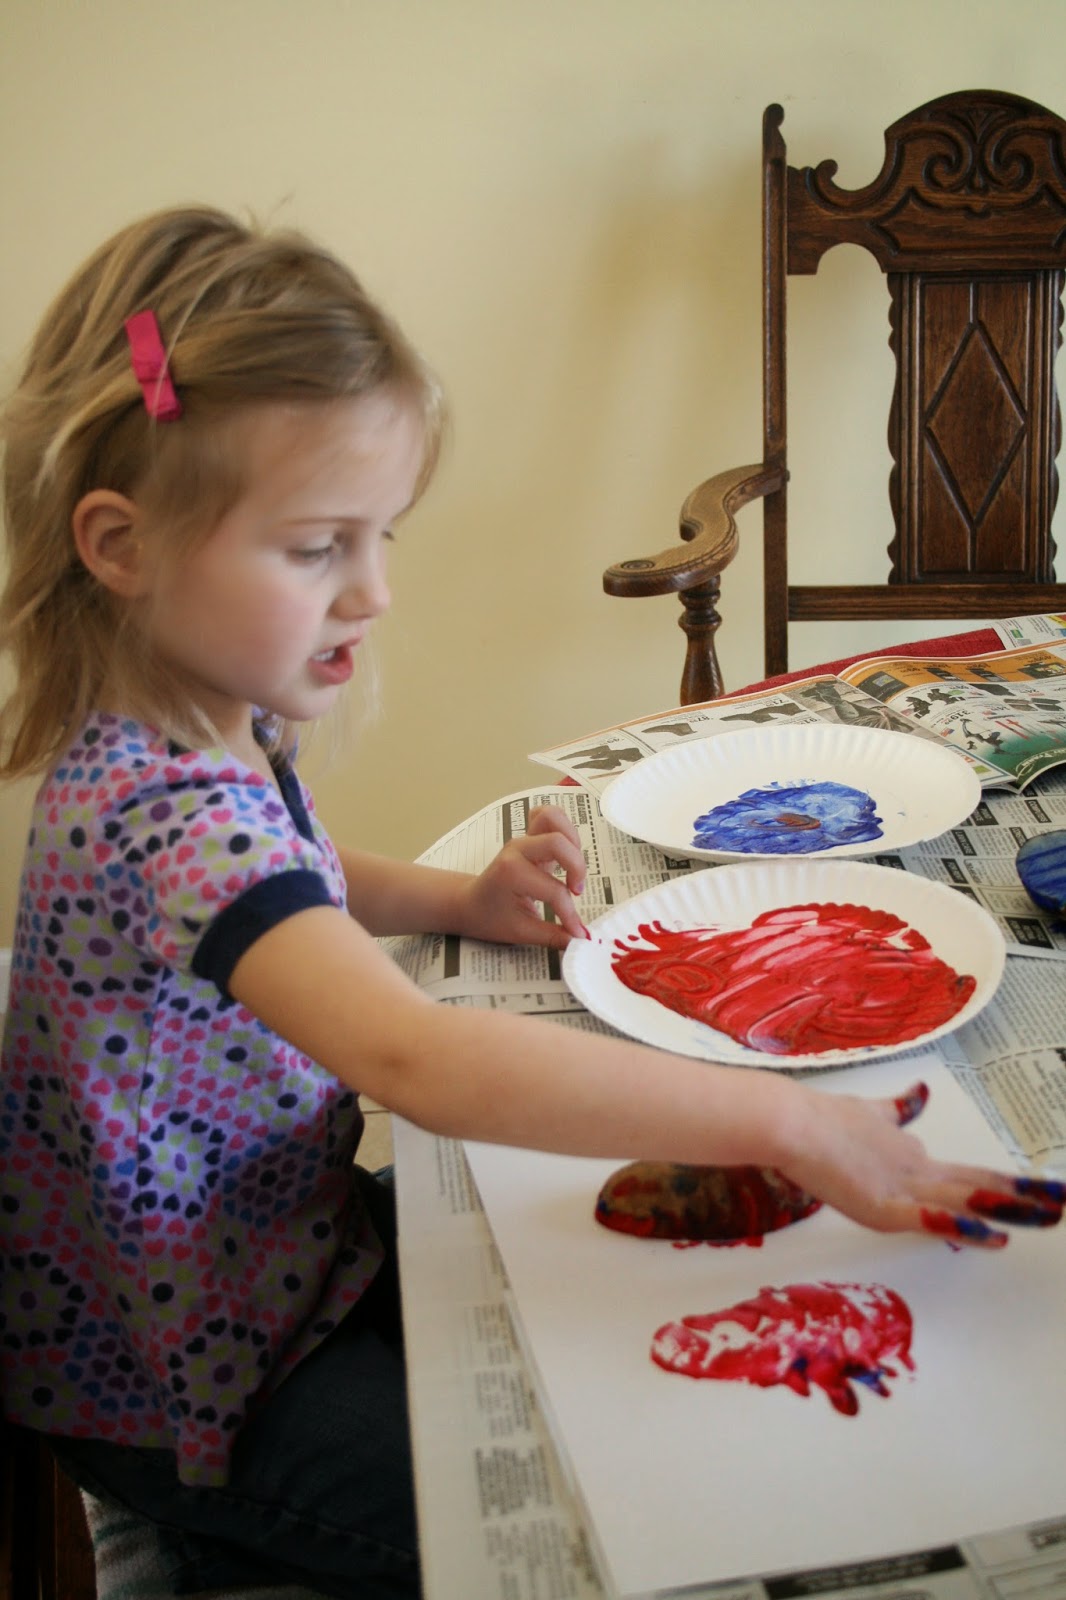
Greetings!  This past week was filled with fun Valentine crafts and a party with our playgroup friends which both Bella and Elijah really enjoyed!  Matt left town on Valentine's day morning, but we were able to have dinner together the night before (Miss you Valentine of mine!)  We hope your Valentine's day was full of love too!  Here's some pictures of our fun:

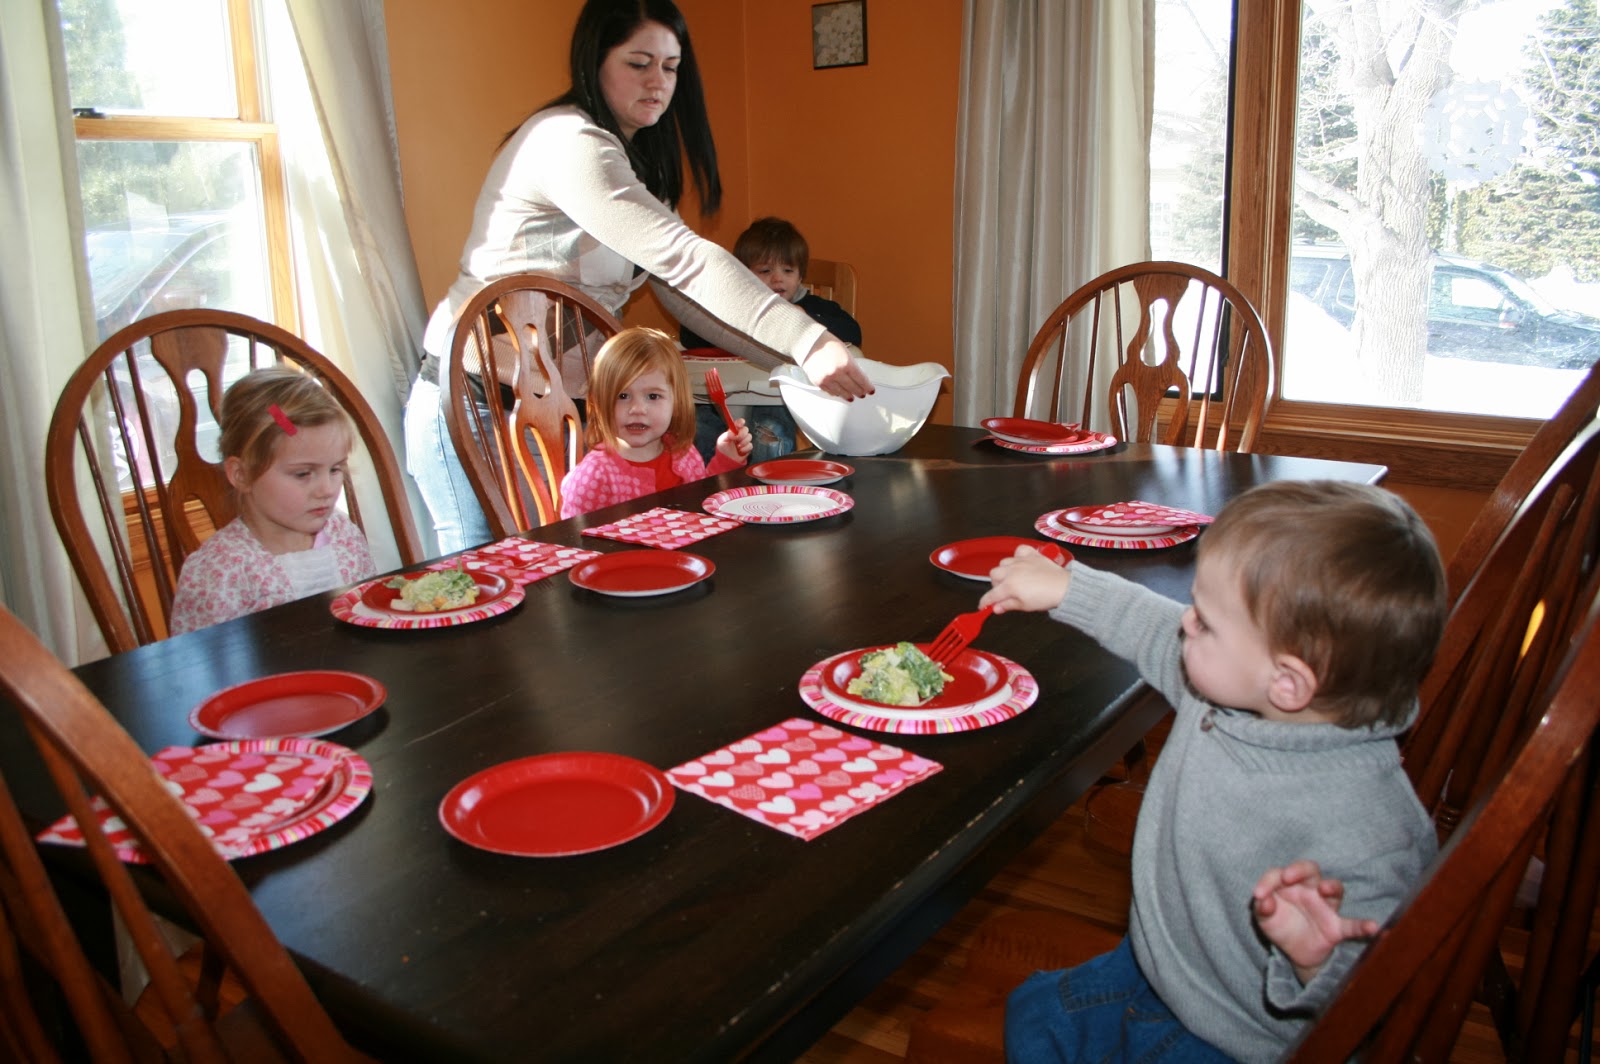
For our Valentine's Party at playgroup this year, we decided to teach a lesson on manners and then serve a spaghetti lunch for the kids.  They did a great job and really seemed to enjoy the food and drinks!  We also had them decorate paper bags and exchange little valentine's cards and treats-that was a big hit!  We are so blessed to have such a fun group of friends to see every week! 
Elijah's ready to party:)

^Some of the boys enjoying caesar salad

 ^Bella had another girl to play with this week, sweet little Maeve!  They sat together at lunch and enjoyed their girl time:)
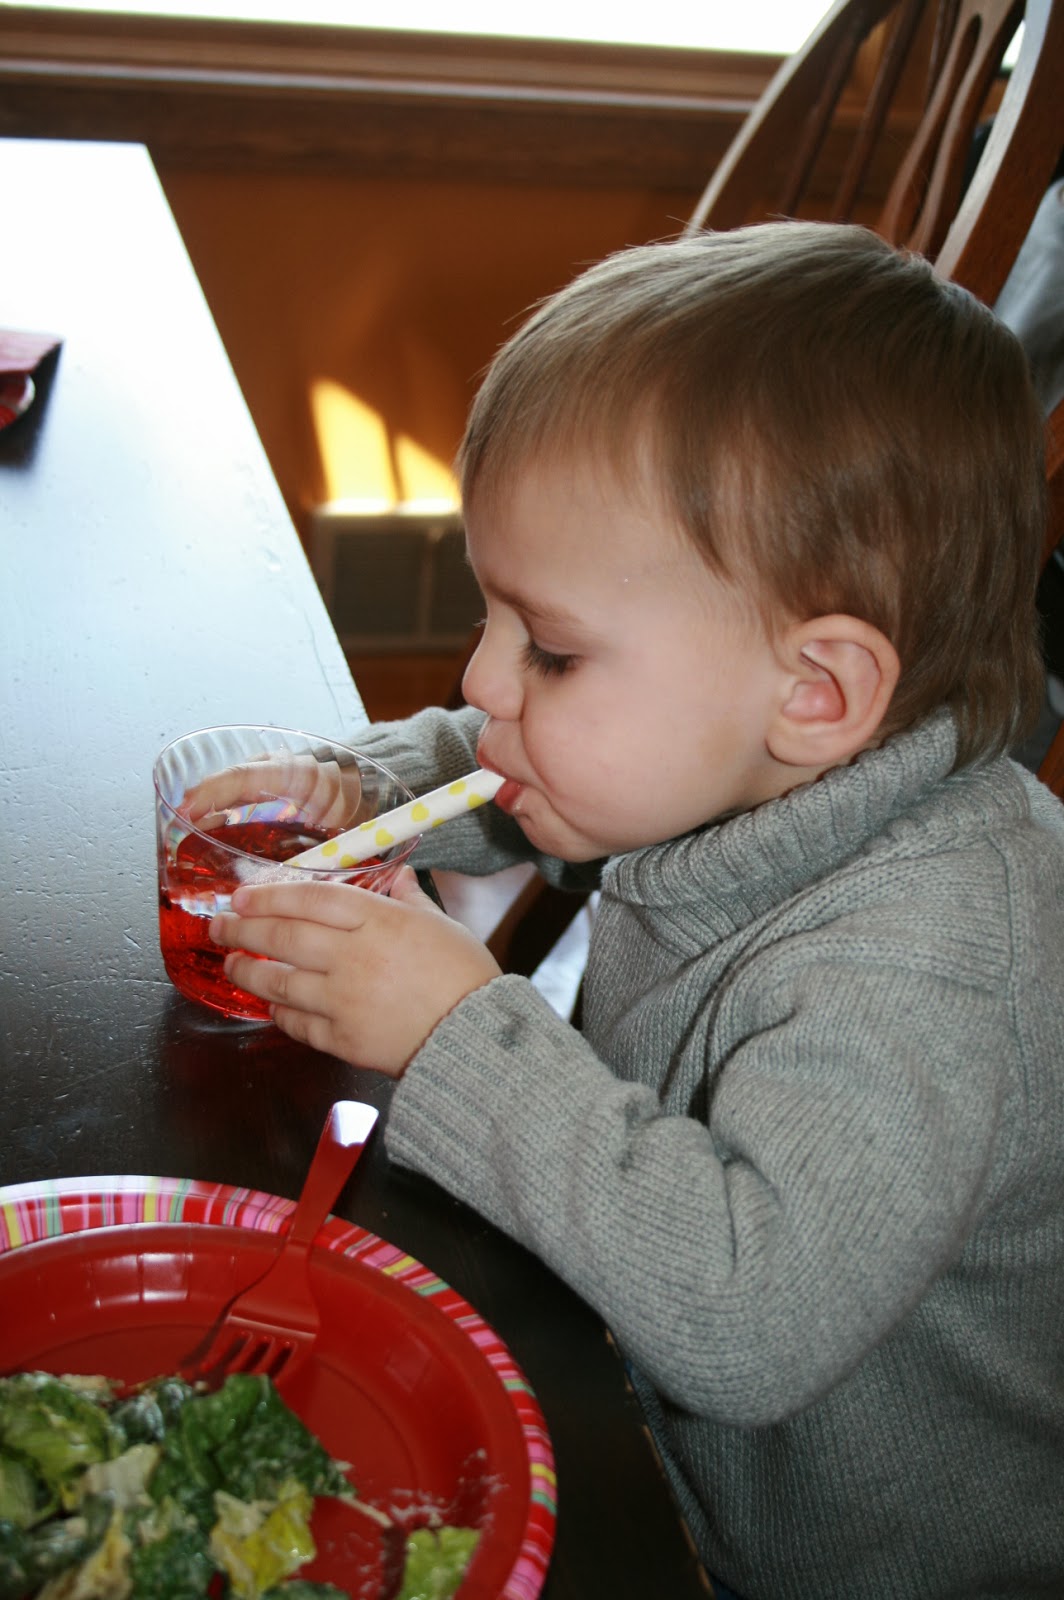
 ^Cute Valentine Drinks (Shirley Temples!)
 My two little Valentines enjoying their lunch:)


^Cute little Wesley (just six weeks younger than Elijah)


Cupcakes for dessert!

^Levi and Jude enjoying their dessert

^Decorated Valentine's Bags, ready to be filled with treats:)


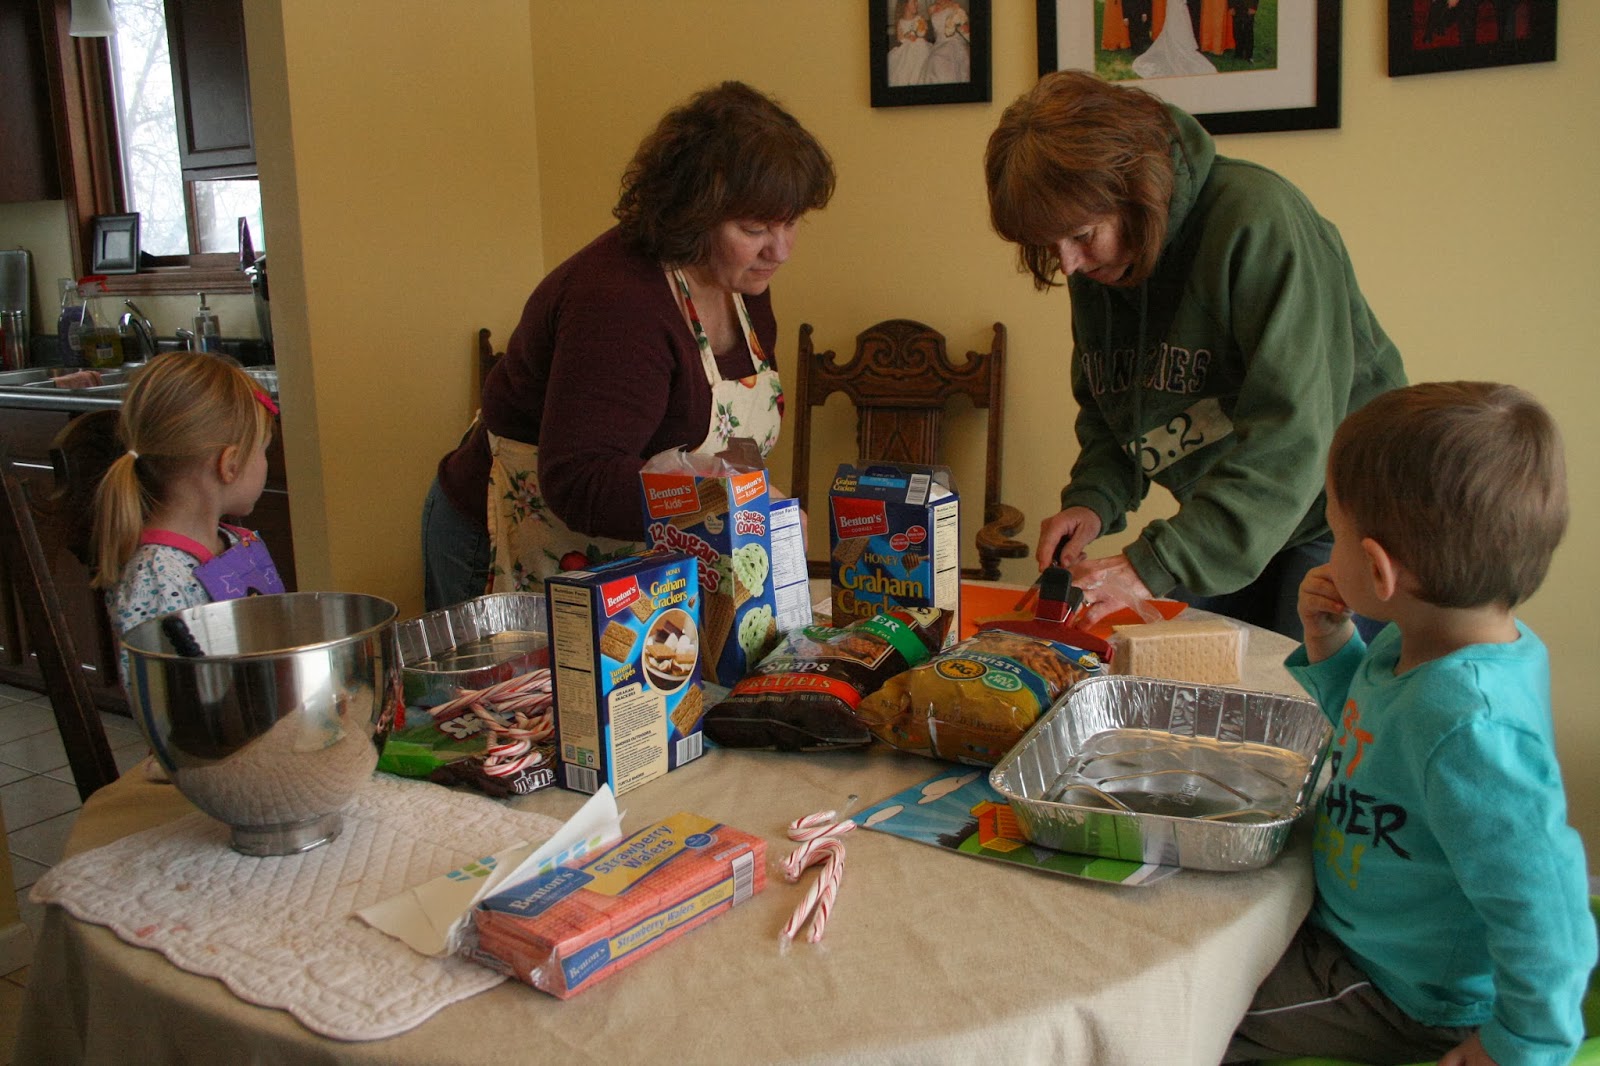
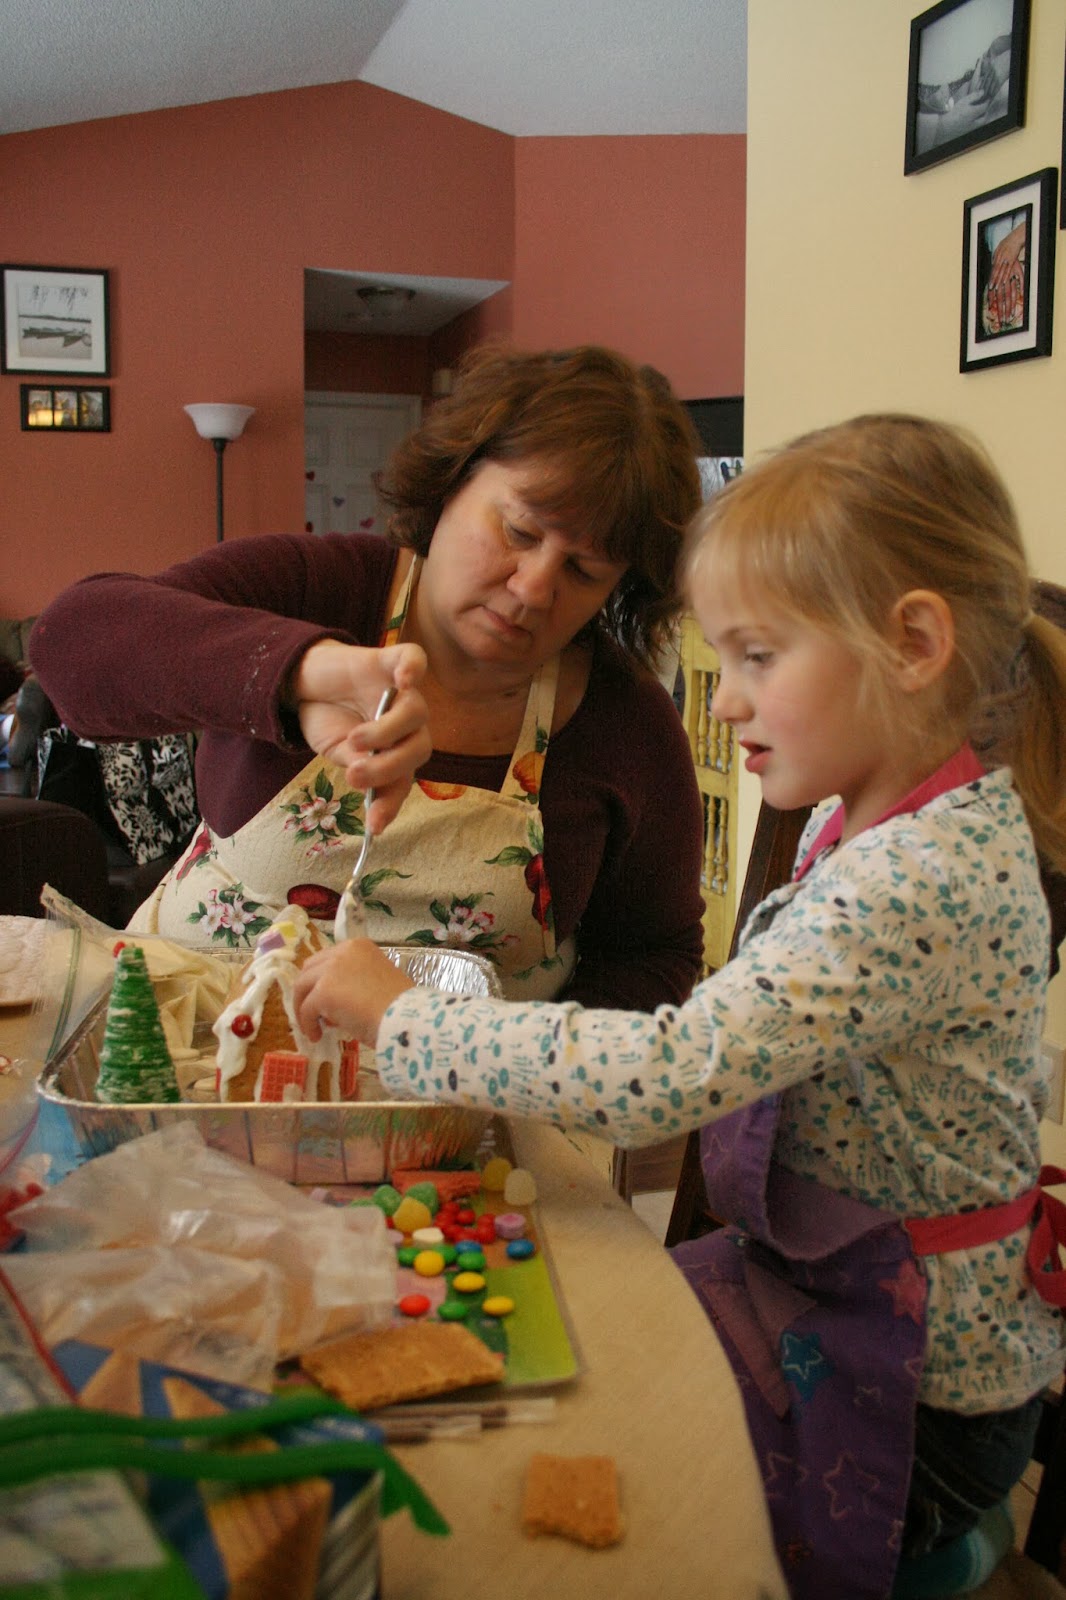
Later in the week, both Grandmas came over to make Valentine Houses with the kids!  This was a really fun project and worked out great because at Christmas time we didn't get a chance to make the gingerbread house Bella really wanted to do.  So Valentine's Day Houses it was!  The kids thoroughly enjoyed eating and decorating their way through the entire process.


^Someone's excited:)


 ^Elijah and Grandma H (this is his 'smile' face-Grandma's trying not to laugh!)
 ^Bella and Grandma M


 ^I just love Elijah's face in this one.  As he was completing his house, he kept calling everyone over and yelling,
"Ta -Da!"

 ^Elijah showing Bella his house
 ^And giving her a sample:)
 ^Elijah's finished house (and Bella peeking!)
 
^Bella's finished house
 
 
This was a super fun and easy project and comes highly recommended by both Bella and Elijah!  We may have to make this one a tradition:)


Monday, October 21, 2013

Old is the new new!

Matt and I recently found a few antiques for our home and I am so excited about them!  So although they are old, they are new to us and I love them:) 


A butcher block island for our kitchen.  I didn't think I needed one until we got one.  Now I use it ALL the time!  Yes, it's a little beat up, but that's what adds the character and makes it a one-of-a-kind piece. On the shelf below I now store my flour and sugar containers for easy access while baking.


This adorable shelving piece is the perfect thing to hold my cookbooks! (and notice the cute little man helping me show it off:))
Here it is with some of my cookbooks on it.  On the top are two antiques clocks I found.  They are set to the times of birth of my two beautiful babes!  Bella was born at 8:30pm, and Elijah was born at 1:31 am.  I love the idea of having the times set for those two amazing moments in our life! 
 
There you have it.  Old is the new new:)

Monday, May 20, 2013

DIY Painted flowers (and sign)

I don't know about you, but I am definitely ready for summer.  Cookouts, boating and fishing, bonfires, family trips, s'mores, everything!  Anyway, I love having a sign by my front door for every season/holiday, and I didn't have one yet for summer.  So...of course I decided to get crafty and make my own!  I had seen on pinterest a way to make painted trees using a q-tip, so I thought I'd try using the technique to paint flowers onto my sign.  Here' the finished product:

And here's how I did it:


You'll need a canvas, acrylic paints, paint brushes, letter stencils, q-tips and paint pen or Sharpie marker.

Start by painting your sign in the background color you like.  I liked yellow because it's nice and cheerful-perfect for sunny summer!  Once your paint dries, you can stencil in your letters.  I stenciled the word SUMMER and wrote the word CELEBRATE freehand.  


For the flowers, you'll need to pick a color in addition to white.


STEP 1: Using the main color first (red in the picture above), dip your q-tip in the paint and make a cross and and X in dots.
STEP 2: Mix your main color with the white, creating a muted tone (pink above), and begin to fill in dots to create a circle.
STEP 3: Using white paint, fill in dots in any empty spaces within the flower.  And there you have it, easy DIY painted flowers to add to any project!

I also tried this same q-tip dot process but made dots with tails to resemble fireworks. 
That might be a cute project to do with the kids for Independence Day! 

I hope you enjoyed this little project for summer flowers!  Happy Monday:)


Friday, April 19, 2013

House Project: Sun Room Addition

My (amazing) husband recently helped my parents complete a sun room addition/remodel on their home.  I wanted to show you all of his hard work and what a great job he did!  (And by the way, I can't wait until he builds one onto our house!!)

My parents home was built 20 years ago in 1993. When it was built they had a solarium off the back of the kitchen (next to the deck).  I don't have any great pictures of it, but here's one.  It was basically walls up about two feet, then windows all the way up and windows for a ceiling. 

Fast forward 20 years.  Last summer they had their siding redone, and at that time found out that the solarium had severe problems coinciding with water damage.  They decided to redo the entire room, opting to make it a sun room with a roof instead of all windows.  This way it would be more usable all year long (not so hot in the summer and cold in the winter).  Matt volunteered to help them plan and complete the project. 

Here are some pictures of the process.


Here's the end result (so far).  Matt's part is done.  My mom and brother are planning on completing the rest themselves.  The siding will go up next, then the inside will be insulated, sheet rocked, floored, painted, and trimmed. Matt already ran the electrical, so they will just need to pick out a light fixture to install.  They are hoping to use the space as a game room/conversation area with a great view no matter where you sit! 

Doesn't my husband do amazing work??  If you'd like to hire him for a project you can let me know:) (Don't worry Debbie and Al, you are first on the list!).  He's a very busy man, but he loves to do this type of work.  We already have lots of plans for our house as well!

I hope you are having a wonderful week! 

(It is April 19th today.  It has snowed for the past two days straight, with snow totals around 14 inches so far.  I just thought I should have this on record so when my family protests when I want to move South, I have evidence of why!)